Tips for Painting a Room Like a Pro
When you decide to tackle a painting project, it’s essential to approach it like a pro. Choosing the right color palette can set the mood, while proper preparation can make all the difference. High-quality tools and techniques are crucial for achieving that flawless finish. But there’s more to it than just slapping paint on the walls. Let’s explore the steps that will elevate your painting skills and transform your space.
Choosing the Right Color Palette
How do you choose the right color palette for your room? Start by considering the mood you want to create. Warm colors like reds and yellows energize a space, while cool colors like blues and greens promote calmness.
Look at existing furniture and decor; you want your palette to complement them. Test some colors on your walls; paint swatches help you visualize how they'll look in different lighting throughout the day.
Don’t forget about the size of the room—lighter colors can make a small space feel larger, while darker shades can bring intimacy.
Finally, trust your instincts; if a color resonates with you, it’s likely the right choice. Aim for harmony, and let your personality shine through your selections.
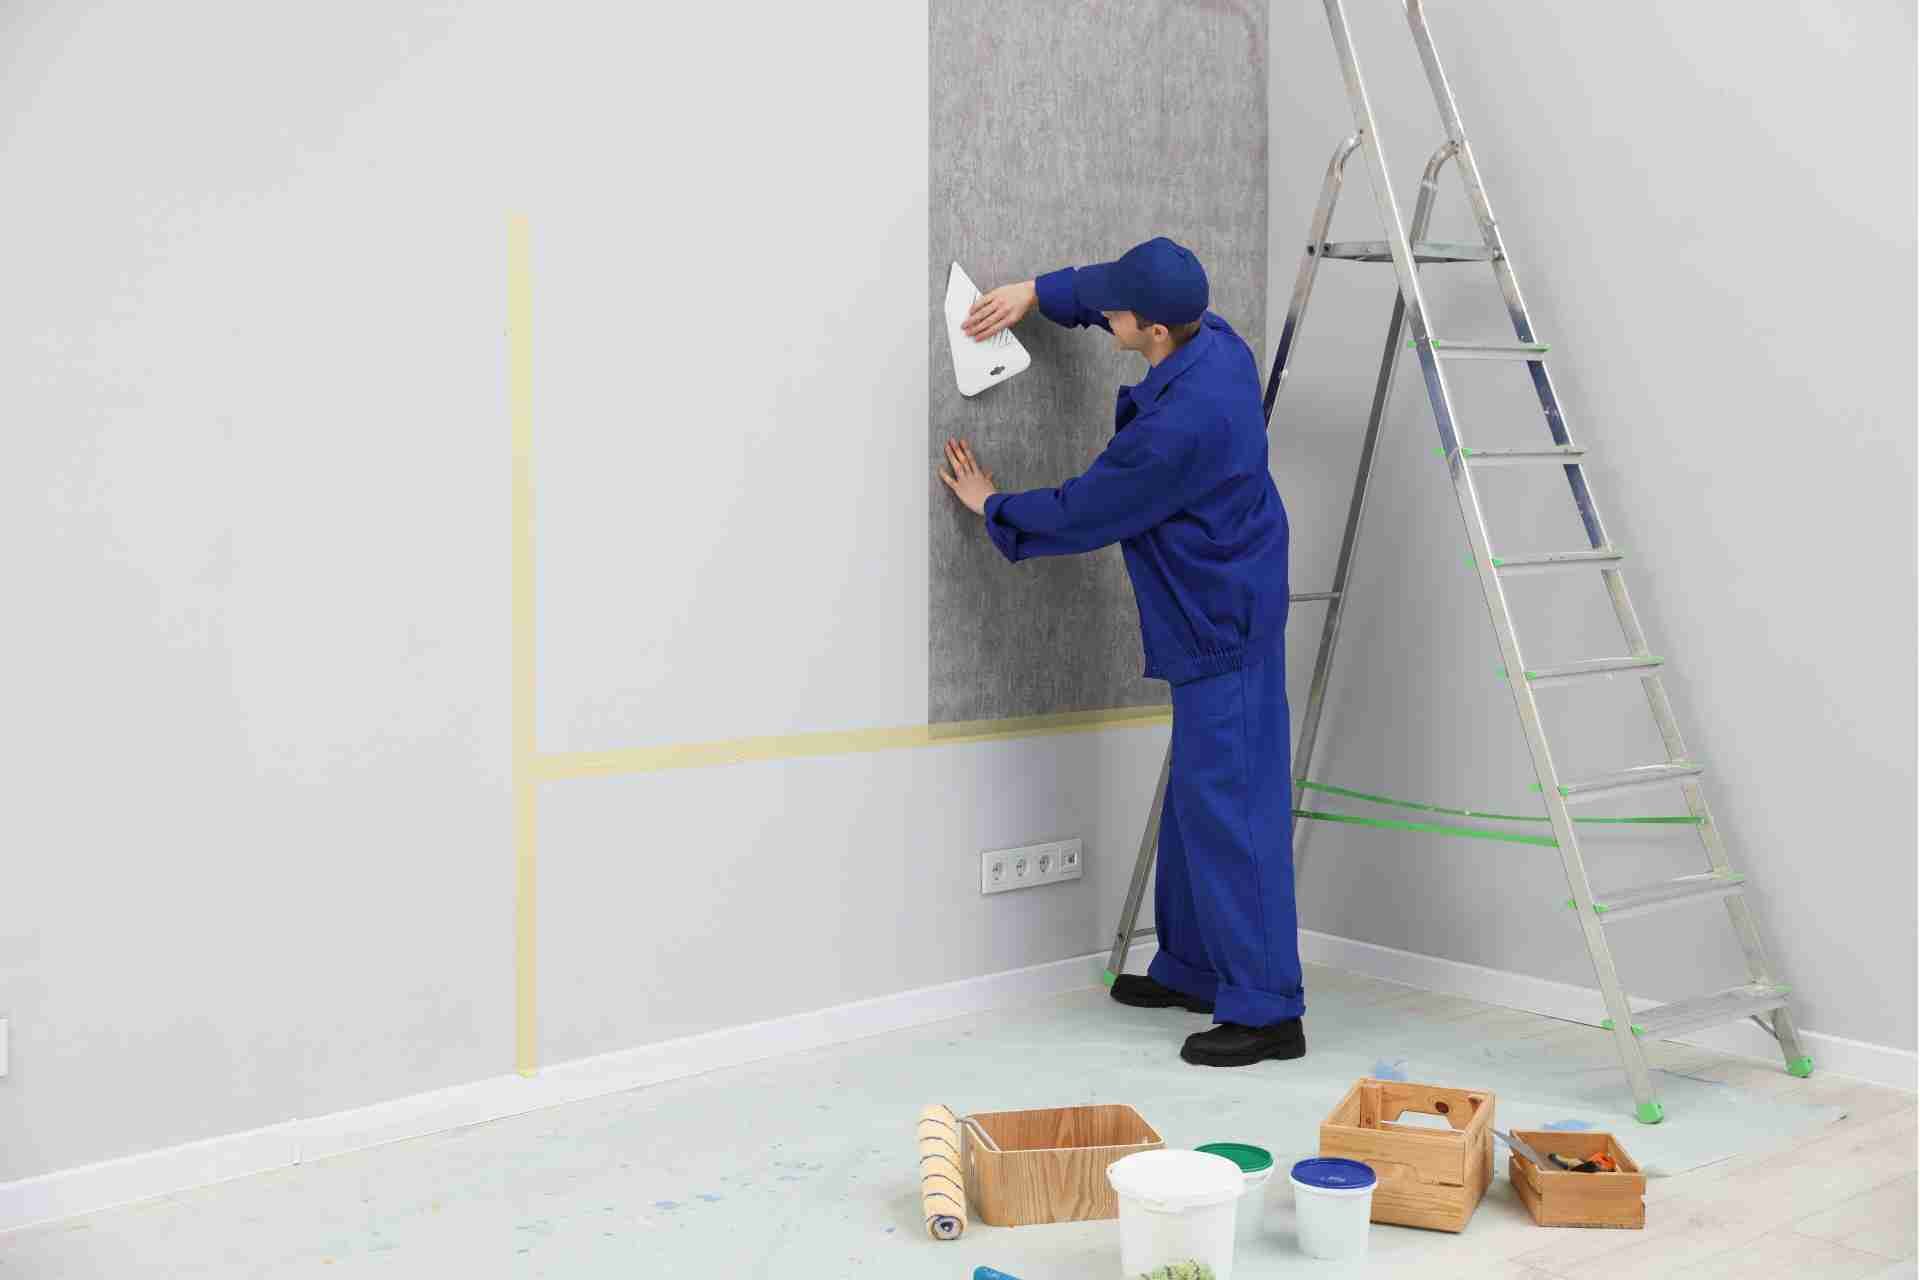
Preparing the Room for Painting
Before you start painting, it’s essential to prepare the room properly to ensure a smooth and successful process.
First, clear out furniture or move it to the center and cover it with drop cloths. Remove any wall hangings, outlet covers, and switch plates to avoid accidents.
Next, fill any holes or cracks in the walls with spackle and sand them down for a smooth finish. Dust and clean the surfaces to help the paint adhere better.
Finally, tape off edges around windows, doors, and baseboards to create clean lines. Taking these steps will make your painting project much easier and result in a professional-looking finish.
Now you’re ready to dive into choosing quality tools and materials!
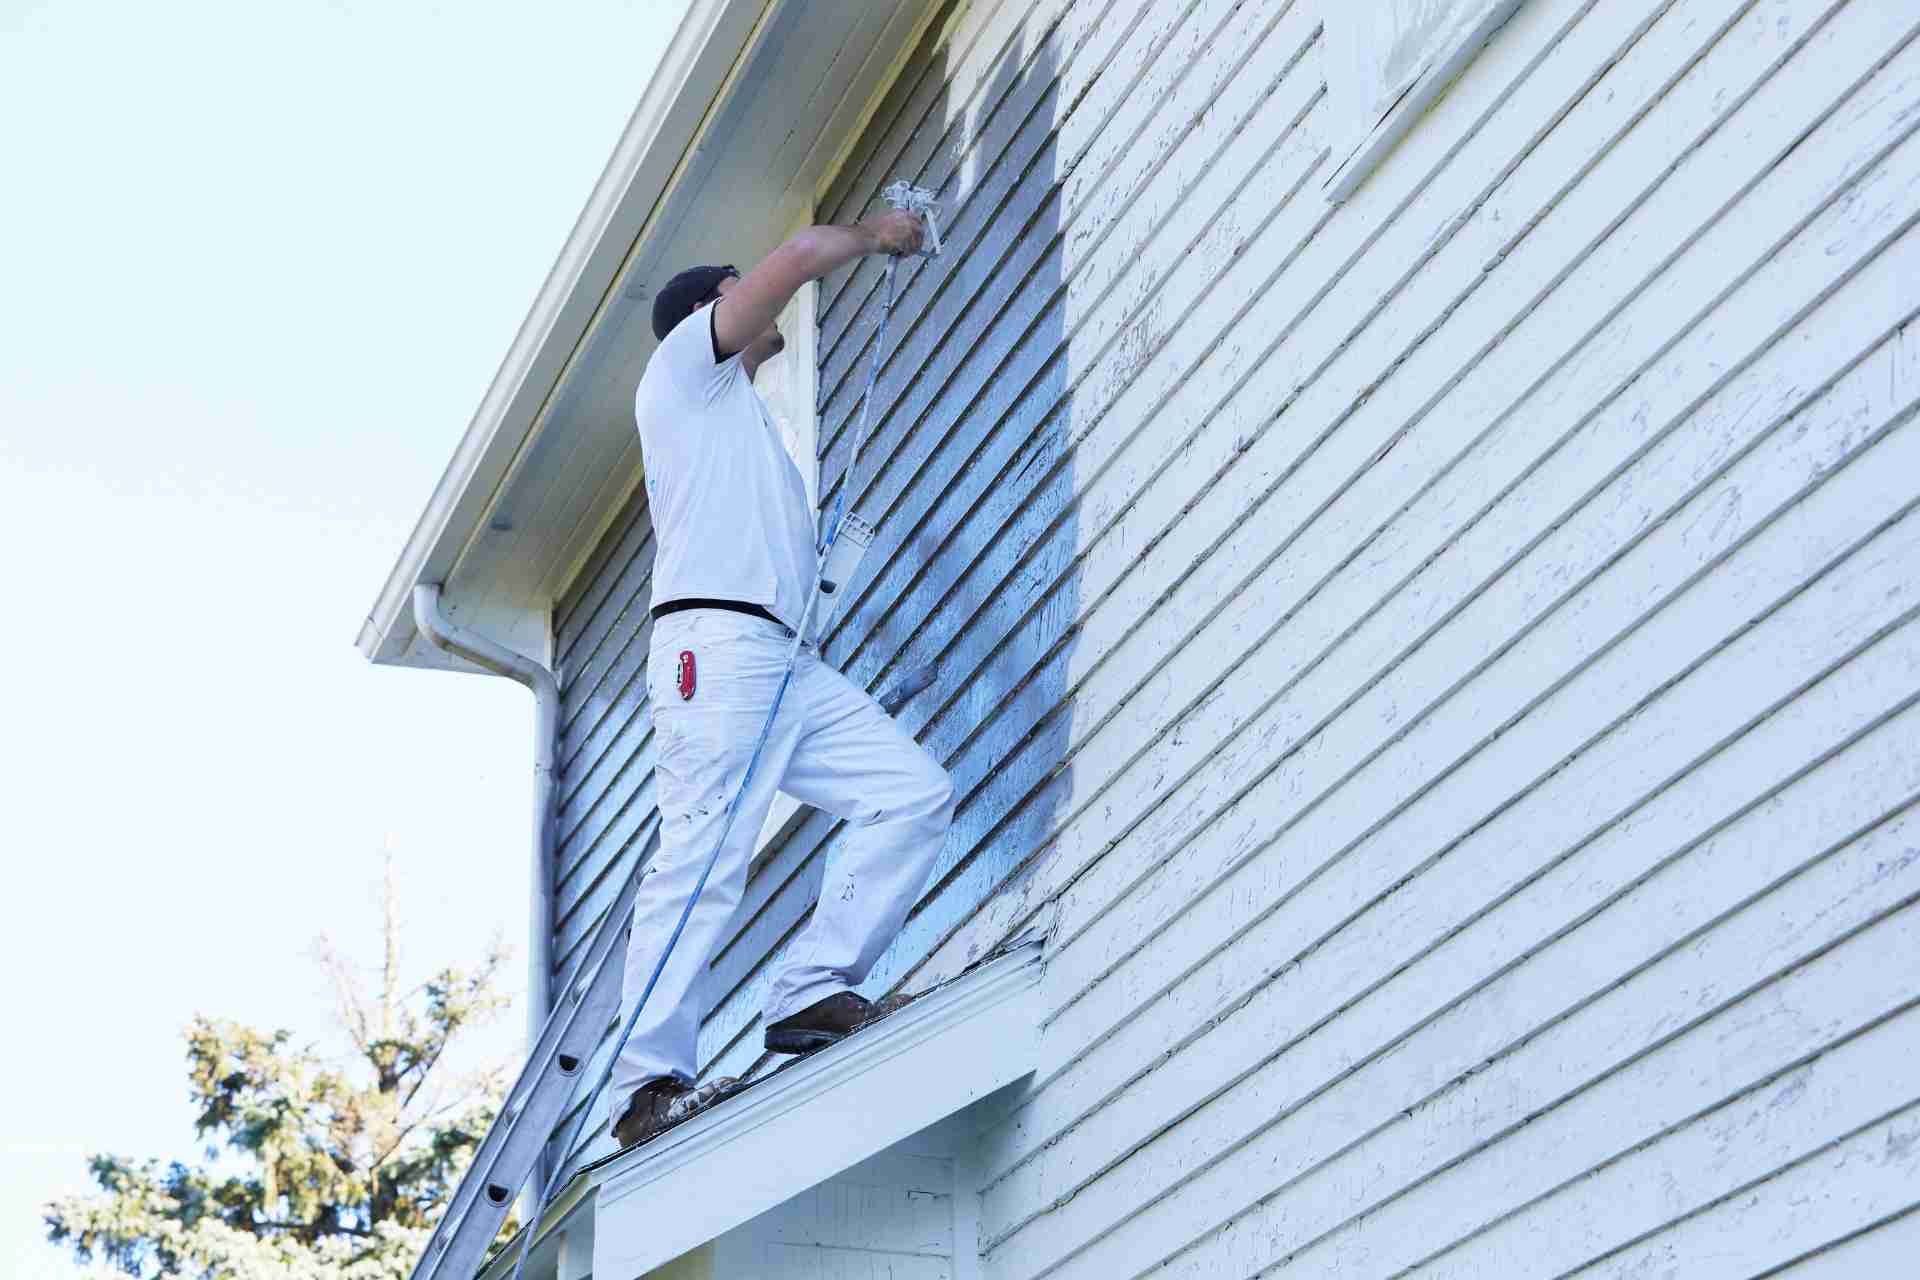
Selecting Quality Tools and Materials
With the room prepped and ready, it’s time to focus on selecting quality tools and materials that will make your painting project a success.
Start by choosing high-quality paint; it’ll provide better coverage and durability. Don’t skimp on brushes and rollers—invest in tools that’ll apply paint evenly and reduce streaks. Look for synthetic brushes for latex paints and natural bristle brushes for oil-based options.
A sturdy painter's tape is essential for clean lines, while a drop cloth will protect your floors. For easy access, grab a paint tray and a roller extension pole.
Lastly, consider a paint can opener and a stir stick for convenience. Quality tools save time and effort, leading to a professional finish.
Mastering Surface Preparation
Although it might seem tedious, mastering surface preparation is crucial for achieving a flawless paint job. Start by cleaning the walls to remove dust, dirt, and grease, which can prevent paint from adhering properly.
Next, patch any holes or cracks with spackle or joint compound, then sand those areas smooth once they’re dry. Don’t forget to wipe down the surfaces again to eliminate any dust from sanding.
If you’re working with glossy walls, lightly sand them to create a better bonding surface for the paint. Finally, apply a primer if you're switching colors or painting over stains; this step ensures even coverage and enhances durability.
Taking the time to prepare surfaces will pay off in the long run with a professional-looking finish.
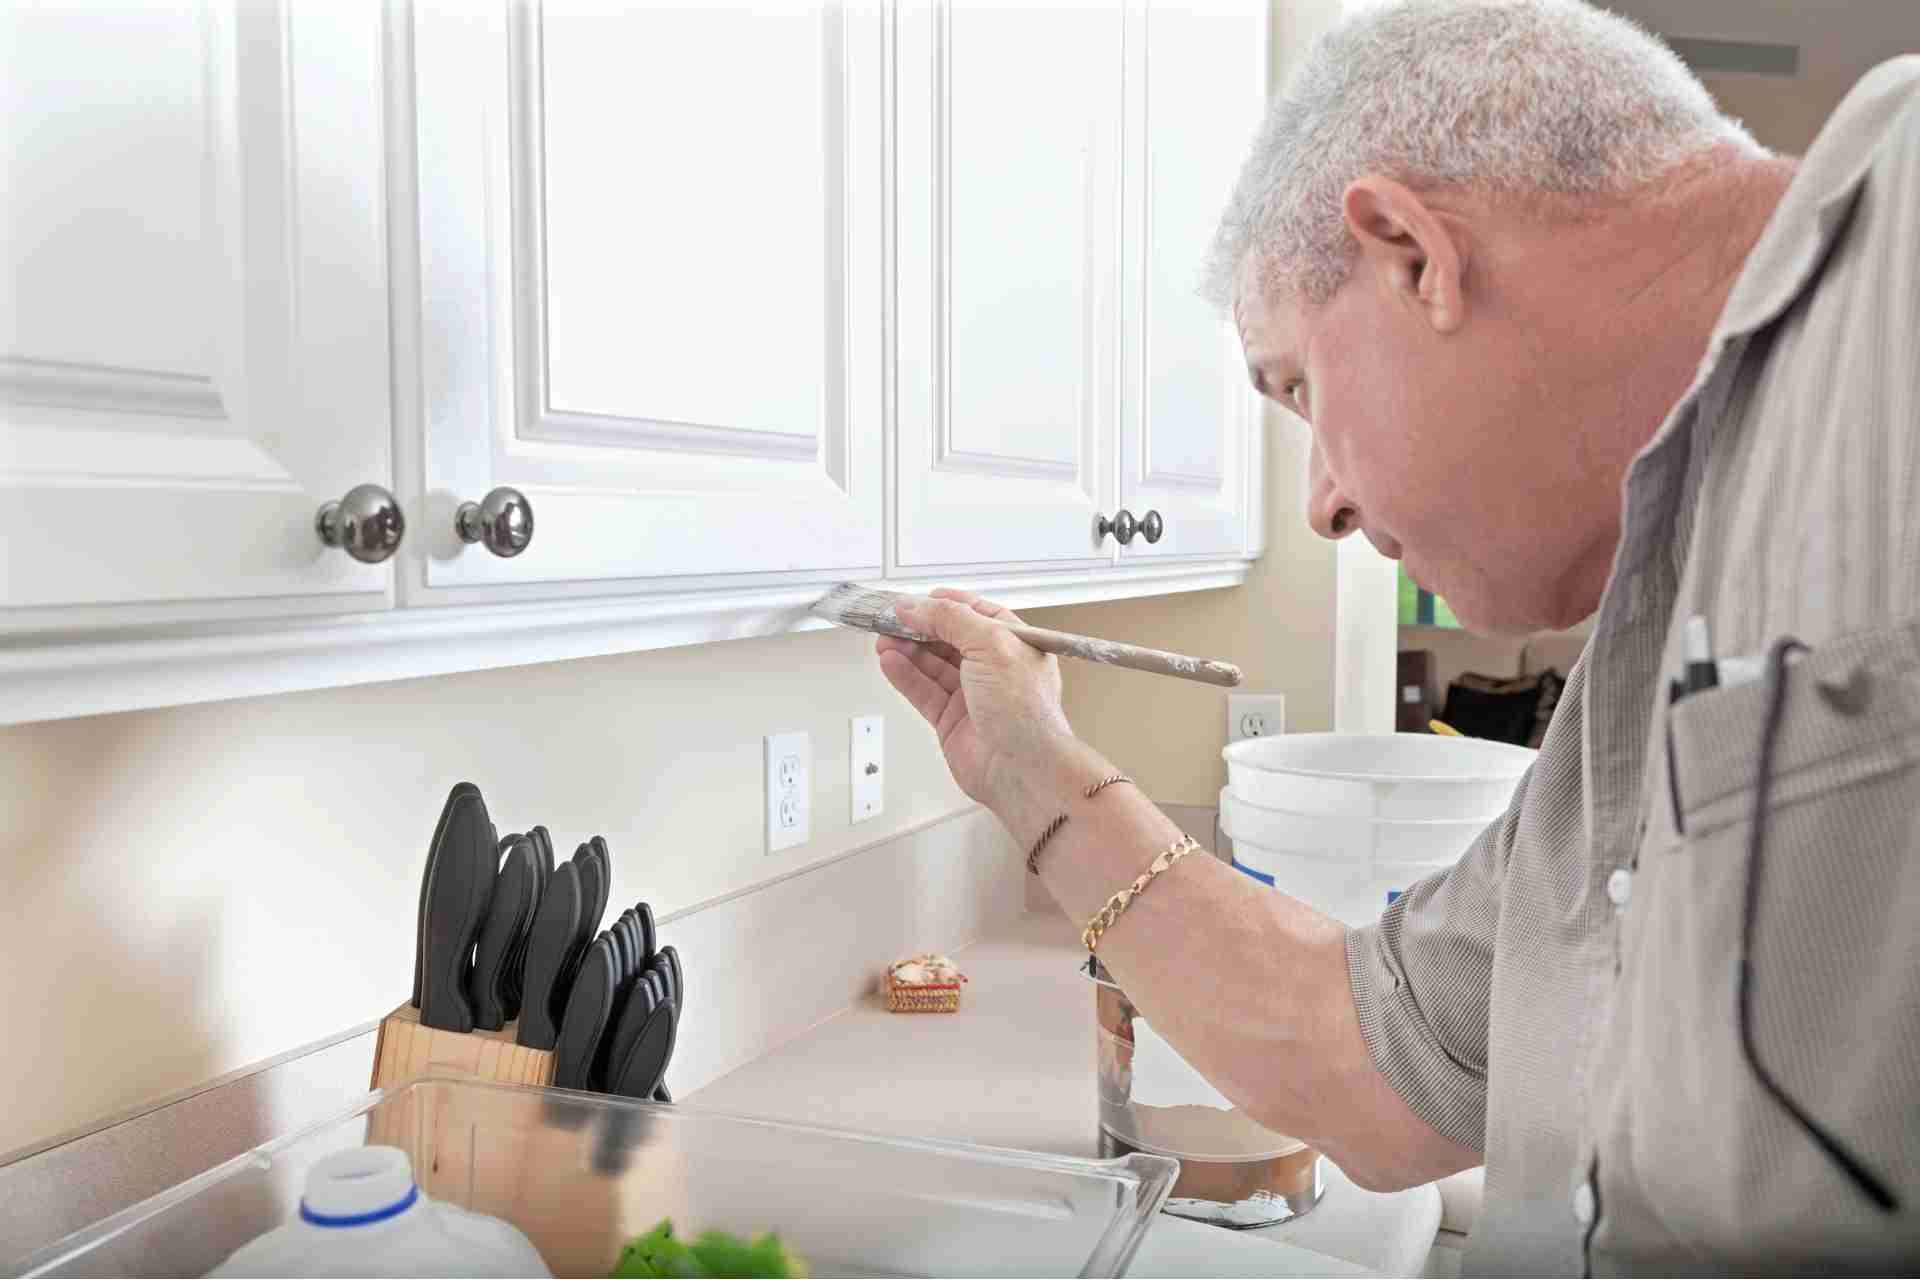
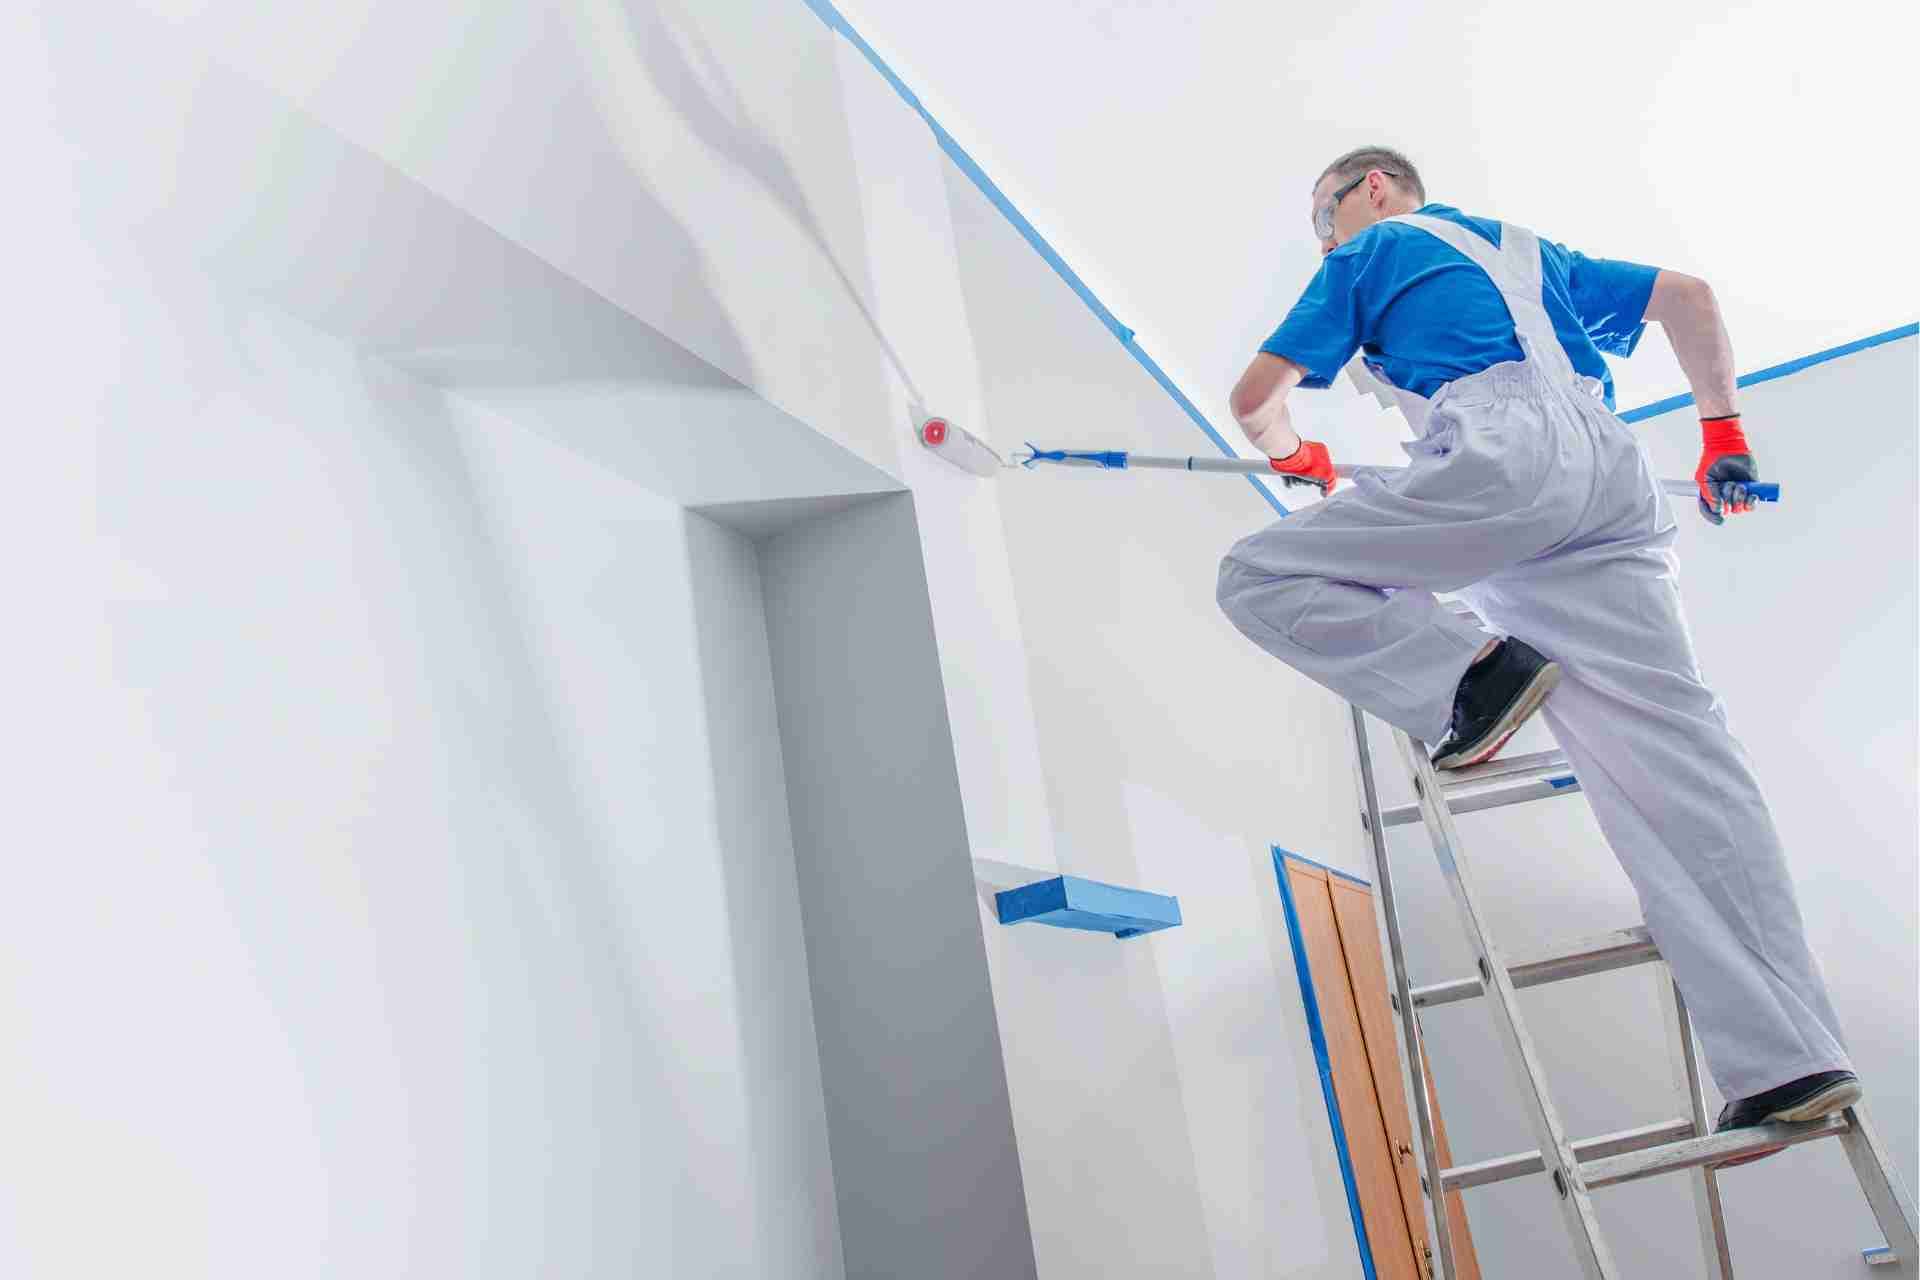
Techniques for Cutting In and Edging
Cutting in and edging can make or break your paint job, so mastering these techniques is essential for a polished look.
Start by using a high-quality angled brush, which gives you better control along edges. Dip the brush in paint, then tap off the excess to prevent drips. Position the bristles against the edge and apply the paint in short, smooth strokes. Work in sections, overlapping slightly with your existing paint to ensure a seamless finish.
For ceilings and corners, hold the brush at a slight angle for better precision. As you cut in, keep a damp cloth nearby to quickly wipe any mistakes. Practice makes perfect, so don’t hesitate to refine your technique as you go.
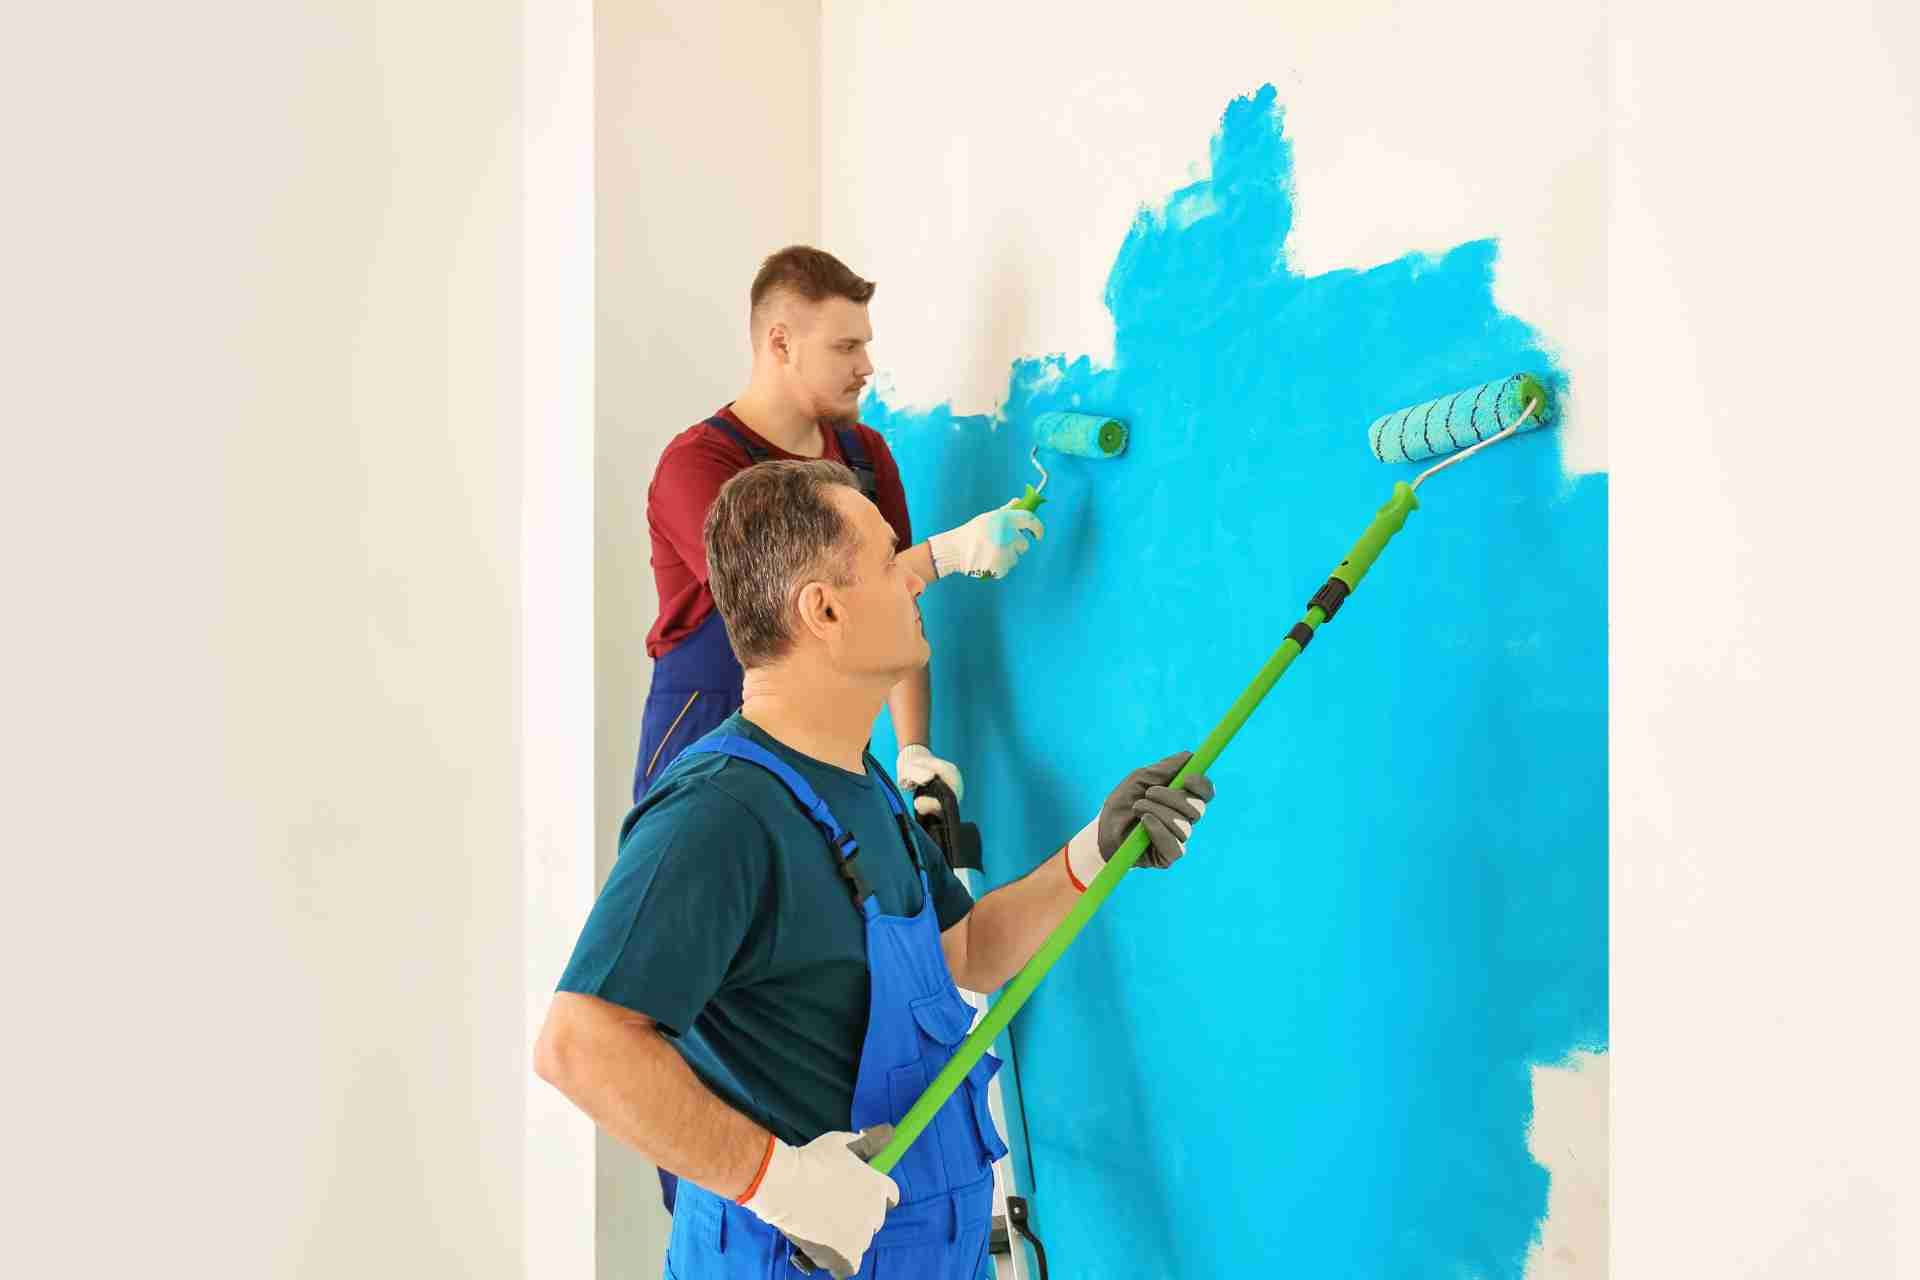
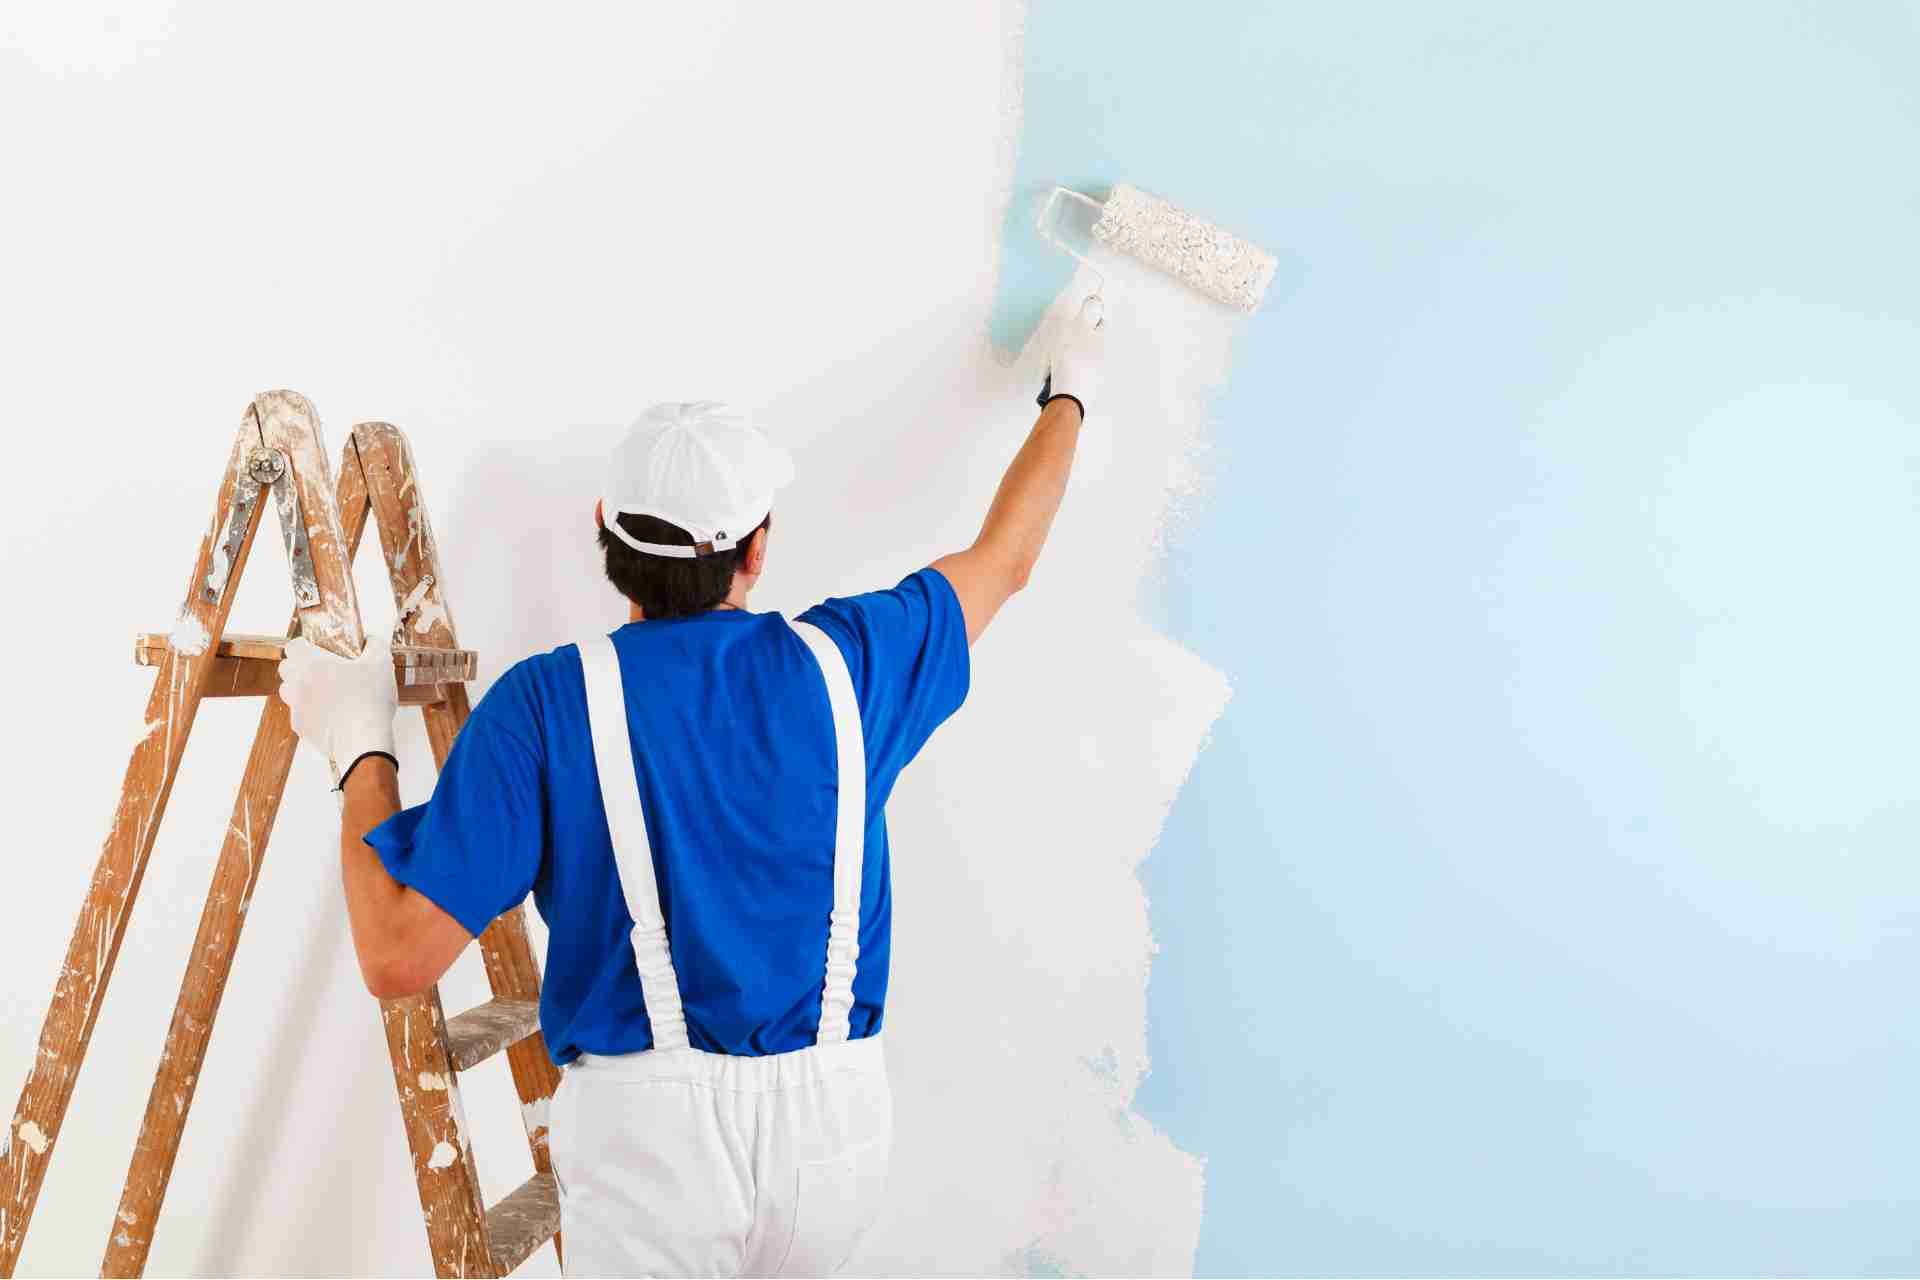
Proper Rolling Techniques
Rolling on paint can transform your walls quickly and efficiently when done correctly.
Start by choosing the right roller; a thicker nap is great for textured surfaces, while a shorter nap works well on smooth walls. Dip your roller into the paint, then roll it along the tray’s sloped edge to remove excess paint.
Begin at a corner and use a “W” or “M” pattern to spread the paint evenly. This technique minimizes streaks and ensures full coverage. Apply light to moderate pressure as you roll, and don’t overload the roller to avoid drips.
Work in sections, blending each one into the next while the paint is still wet. With practice, you’ll achieve a smooth, professional finish.
Knowing When to Apply a Second Coat
How can you tell when it's time to apply a second coat of paint? First, check the coverage of your first coat. If you can still see the previous color or any imperfections, it’s time for another layer.
Typically, you should wait about two to four hours for the paint to dry, but this can vary based on the paint type and humidity levels. Run your hand over the surface; if it feels rough or uneven, you’ll want that second coat for a smooth finish.
Cleaning Up and Storing Leftover Paint
After you've finished painting, it's crucial to clean up and store any leftover paint properly to ensure it remains usable for future touch-ups.
First, seal the paint can tightly, making sure to remove any dried paint from the rim. This prevents air from getting in and ruining your paint.
If you’ve used a roller or brush, clean them immediately with warm soapy water if you used latex paint, or mineral spirits for oil-based paint.
Don’t forget to cover the floor and any surfaces to catch spills during cleanup.
Store the paint in a cool, dry place away from direct sunlight and extreme temperatures.
Label the can with the date and color for easy identification later.
Adding Finishing Touches and Decor
Once you've painted the walls, it's time to elevate the space by adding finishing touches and decor that reflect your style.
Start with accessories like throw pillows and blankets that introduce texture and color. Consider adding artwork or framed photos that resonate with you—these personal touches make the room feel inviting.
Don’t forget about lighting; a stylish lamp or decorative fixtures can transform the ambiance. Incorporate plants for a fresh, vibrant feel; greenery breathes life into any space.
Finally, arrange furniture and decor to create a balanced layout, ensuring it’s functional and aesthetically pleasing.
With these elements in place, your newly painted room will feel complete and uniquely yours. Enjoy the transformation!
Conclusion
By following these tips, you can paint a room like a pro and transform your space with ease. Remember to choose the right colors, prepare your room thoroughly, and invest in quality tools. Mastering techniques like cutting in and rolling will ensure a smooth finish, while knowing when to apply a second coat can make all the difference. With a little practice and attention to detail, you’ll create a beautiful, polished look you'll be proud of.